Enabling HTTPS in WordPress
- Log into the WordPress Dashboard.
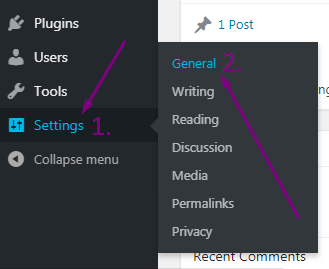
- Hover over Settings in the navigation menu, then click on General:
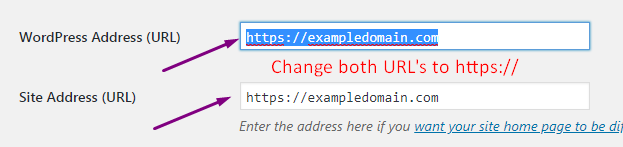
- In both the WordPress Address (URL) field and the Site Address (URL) field, enter https:// in front of the address:
- Scroll down and Click on the Save Changes button on the bottom.

If the change was successful, you will see a “Settings saved” message.
That’s it! You should now be able to browse to your WordPress site over an SSL connection and your website should show up as HTTPS:// in the address bar.
Use the Really Simple SSL Plugin to fix Mixed Content Errors.
