Turn On or Enable WordPress Debugging Mode via “wp-config.php” using File Manager in cPanel
In order to enable WordPress Debug mode you must edit your “wp-config.php” file. This is located in the document root for your WordPress installation on your domain.
Step 1. Log into cPanel
Step 2. Click on ‘File Manager‘
![]()
Step 3. Locate the Document Root for your Domain. The Document Root for your Primary domain is ‘public_html’. Double click on the folder to move inside the directory.
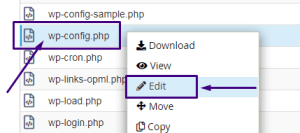
Step 4. Right click on “wp-config.php” then click ‘Edit’
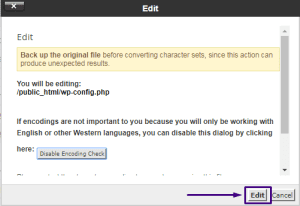
Step 5. Copy the following code then paste it into the bottom of your “wp-config.php” file.
define( ‘WP_DEBUG’, true );<br />
define( ‘SCRIPT_DEBUG’, true );
Step 6. Click ‘Save‘ to save the file.
That’s it! You should now be able to see Errors in Your WordPress site.
Note! It is not recommended to enable WordPress Debugging Mode on a live Production Site as the Errors will be visible to anyone who browses to your Website. Instead you can Clone Your WordPress website and Enable Debug Mode on your Development Site.
